Chris Tan Death Products™ proudly present...

How to re-wire your cams in an emergency

Ever been on a climbing trip and have your favourite cam blow a wire? Well here's how you can make an emergency repair.

Update


Fig 1
Fig. 1

Replacing the trigger wires in a Cam

  1. First, make a note of how the old trigger wire is threaded then remove it carefully.
  2. Save this as you may need it to do a better fix at base camp.
  3. Use some strimmer cord or strong fishing line and rethread the cam. ( See Fig. 1)
  4. Melt the end of the strimmer cord with a match or lighter to form a blob. ( See Fig. 2)
  5. Let the blob cool and make sure it is larger than the hole.

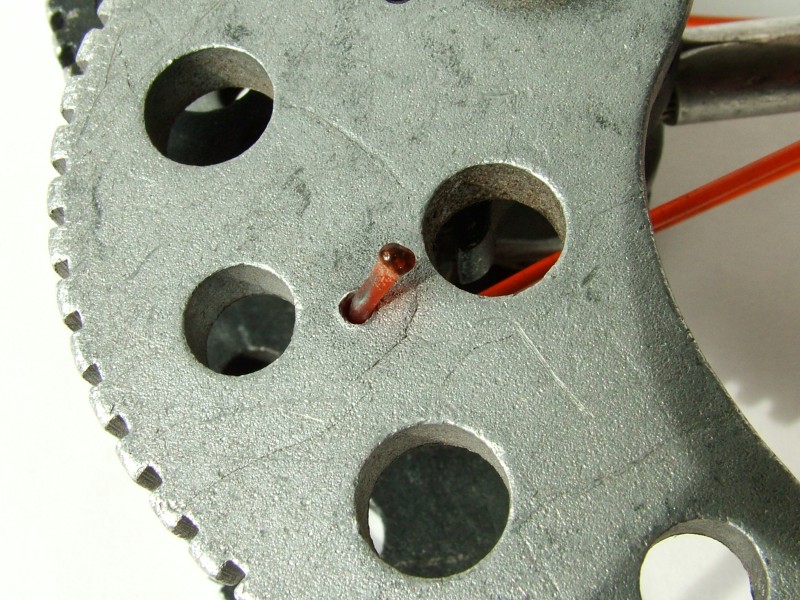
In spite of the looks, this repair is surprisingly robust! I repaired this cam in the field over 5 years ago and have not done anything more apart from melt the blobs every now and again.

Fig 2
Fig. 2

Fig 3
Fig. 3

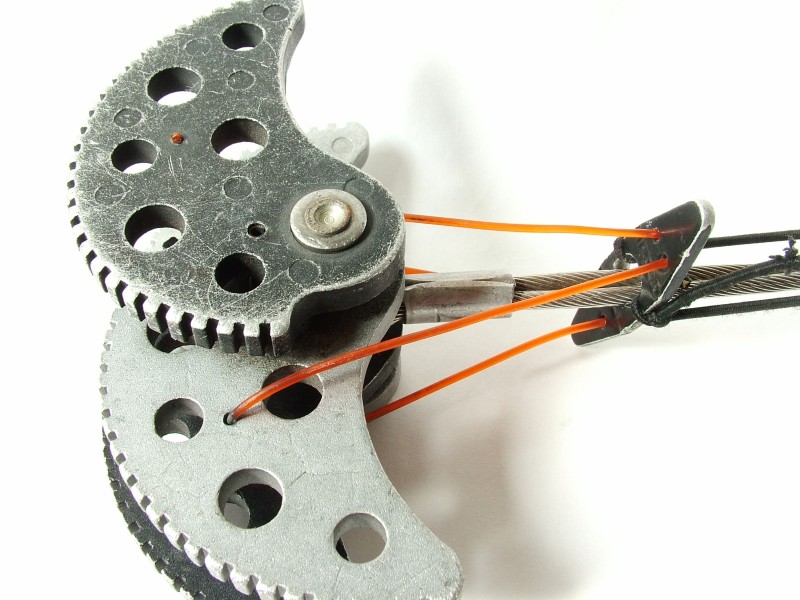
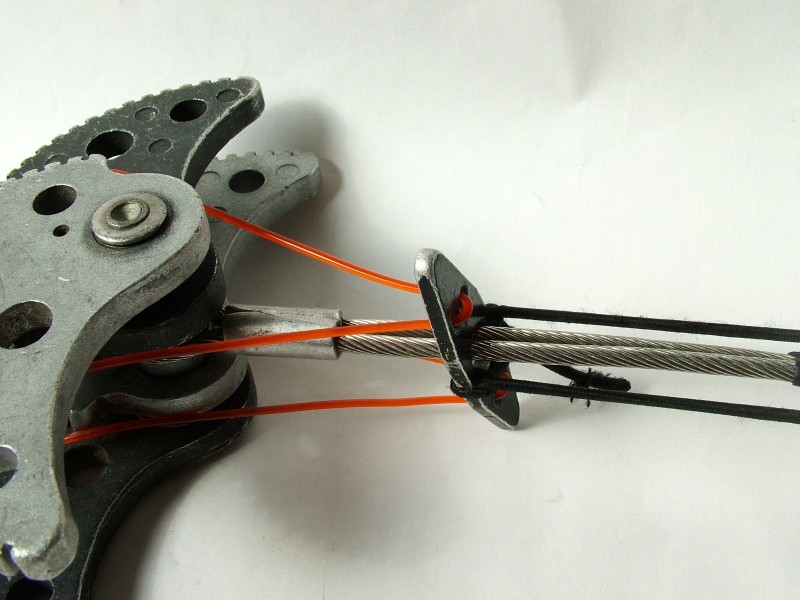
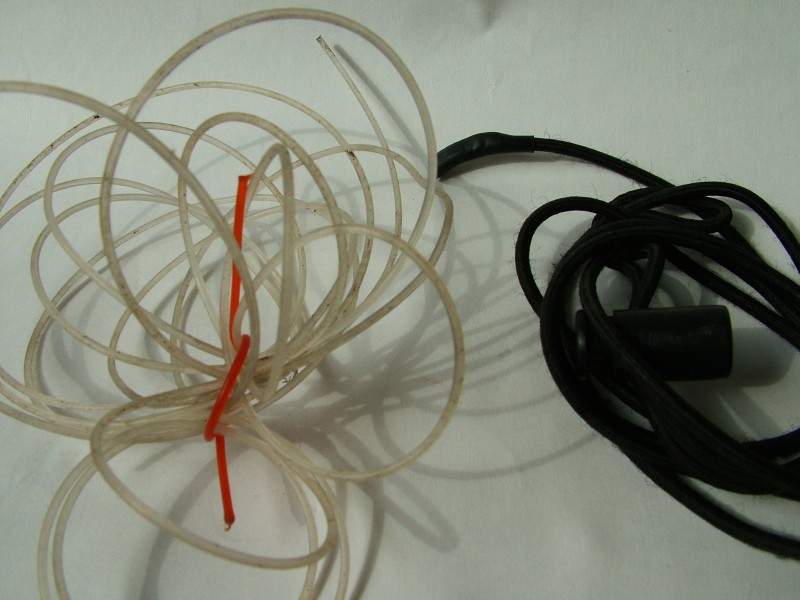
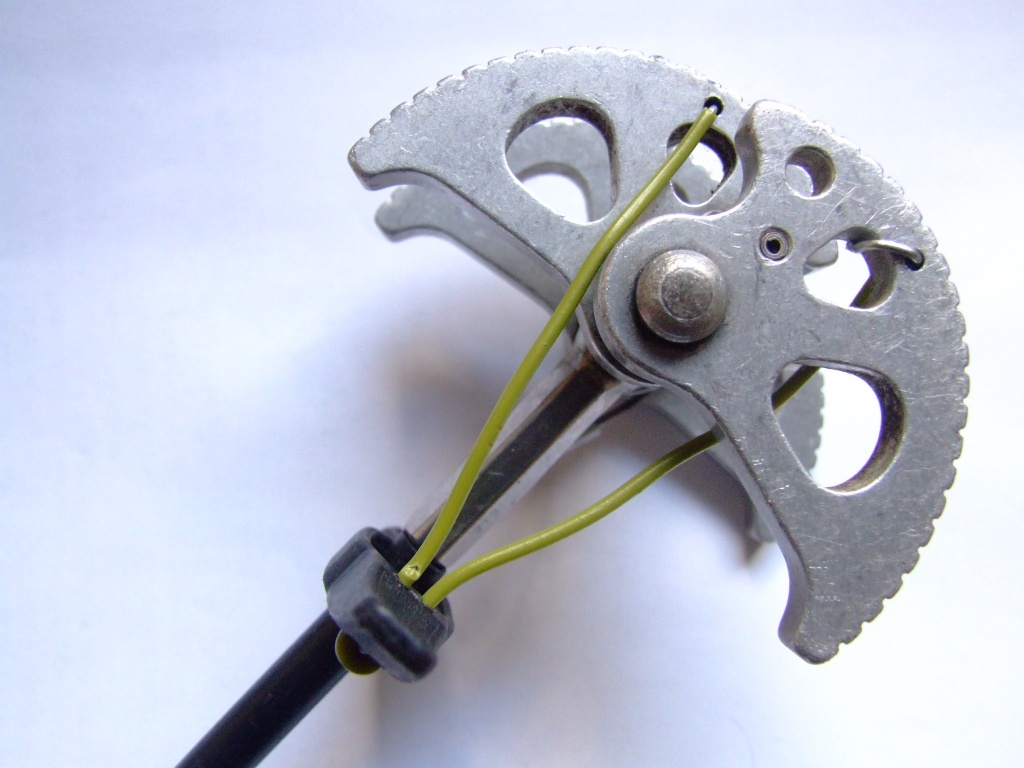
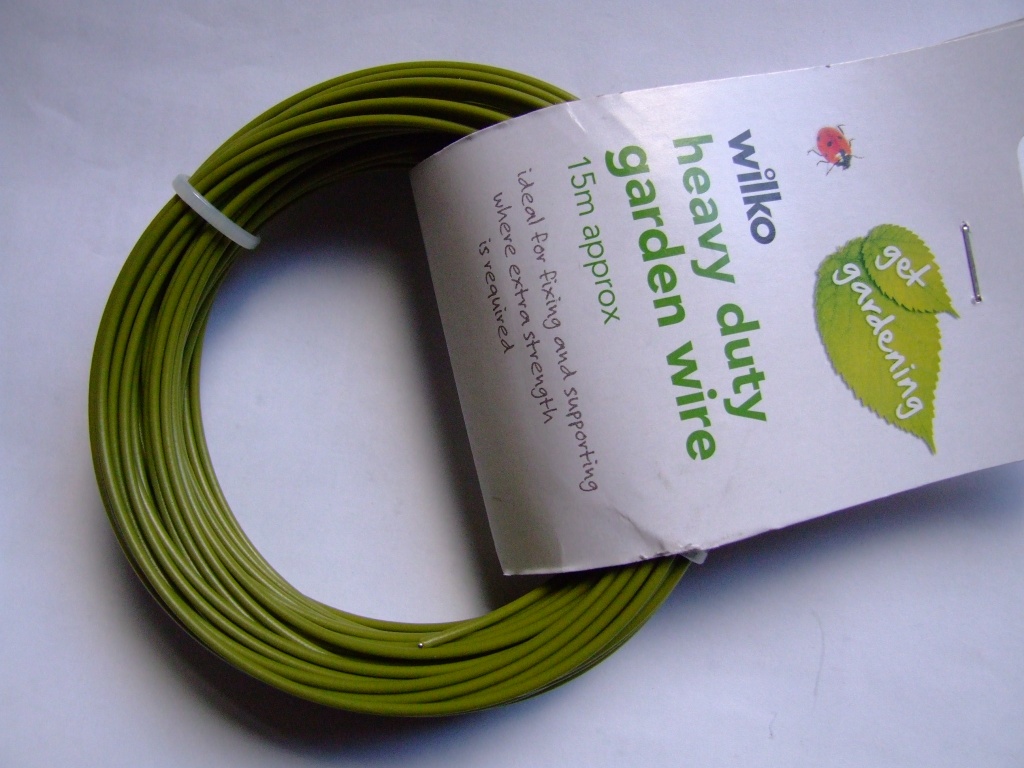
Some cams do not have a rigid head to support the cam lobes and rely on the stiff trigger wire to keep the lobes in position. I use a bit of elastic bungee cord to pull back the trigger bar. This keeps it in tension and give the whole unit some support. ( See Fig. 3)

Fig. 4 shows bits of an emergency repair kit I will take with me on a long climbing trip. If you haven't got that, use your imagination and improvise with what you can find.

Note: Click on the pictures for an enlargement ( 500kb)

Fig 4
Fig. 4


Fig 1
Fig. 5

Using heavy duty garden wire

  1. Couple of cams I have repaired using heavy duty garden wire. ( See Fig, 5)
  2. Repair as per strimmer cord, except.
  3. Strip the wire at the ends insert into cam lobe and bend back. ( See Fig. 6)

Fig 2
Fig. 6

Fig 3
Fig. 3

Wilko's finest Heavy Duty Garden Wire. Look for something 1.5mm - 1.8mm in diameter - Tough but still easy to work with a pair of pliers. ( See Fig. 7)

Hints: Don't make the wire too long or you may not be able to fully retract the cam. Also you may need an awl to enlarge the holes in the trigger bar.

Note: Click on the pictures for an enlargement ( 500kb)


As with any Chris Tan Death Product™, usual disclaimers apply. Use at your own risk! < Usual laugh follows>

Note: Usual copyright & disclaimers apply. If you would like to use the information or any of the pictures contained in these pages, contact Chris Tan by first removing the Walnut.


Equipment

Gallery

Guides

Articles

About Me

Contact

Home

Site Map


Last Updated: 27 June 2013